
Easy Sauerkraut Recipe
Sauerkraut really is one of the easiest fermented foods to make, not to mention superior and far cheaper than store bought options. It has been popular through out central Europe for hundreds of years.
Benefits of Sauerkraut:
Supplies live beneficial bacteria
Improves immune function
Reduces allergies and inflammation
Supports cognitive health and mood
Provides lots of antioxidants
Sauerkraut Recipe:
The options here are endless, but it can easily start with just 2 ingredients, i.e. cabbage and salt!!! That is it. In fact, I suggest you start here, nail the process and then experiment from there with different flavours.

Ingredients
1 medium cabbage
1 tsp real salt
vegetable starter (optional)
Optional ingredients to flavour the kraut:
carrot
apple
pear
onions
garlic
herbs
ginger
etc…..the options are endless
Method:
Chop cabbage
Add salt
Knead with your clean hands until juice is released from cabbage, approx 10 min
Pack tightly into a fermenting jar so that the veggies are under the liquid. If you need more juice, you can either keep pounding with a rolling pin until more juice is released or top up with a brine solution of salt and water until veggies under the liquid
Weight down with rolled cabbage leave to ensure veggies stay underneath the liquid. We do not want to come into contact with the vegetables
Tightly secure the lid and sit at room temperature for a minimum of 5 days, ideally 2-3 weeks so that it can go through the full fermentation phases.
NOTES:
Around day 2-5, excess liquid may come pouring out the sides, this is the height of the fermentation process, so ensure your jar is placed either on a plate or in a bowl to prevent mess
Regularly burb your ferment, by just opening and closing, this allows the excess gases to escape
Ensure all utensils are sterilised before commencing
If you notice the liquid is diminishing during the fermentation process, then top again with a brine mix until the veggies are covered.
WARNING:
- Fermented food is incredibly powerful and highly detoxing, so you want to start off VERY SLOWLY. If you feel that you or your child is a sensitive individual you want to go gradually. So start off with adding a little of the juice to your food, then 1/2 tsp, 1tsp etc and slowly build up to roughly a 1/4 of a cup with your food.
If you need help incorporating healing into your nutrition, then reach out to me or check my work with me page.

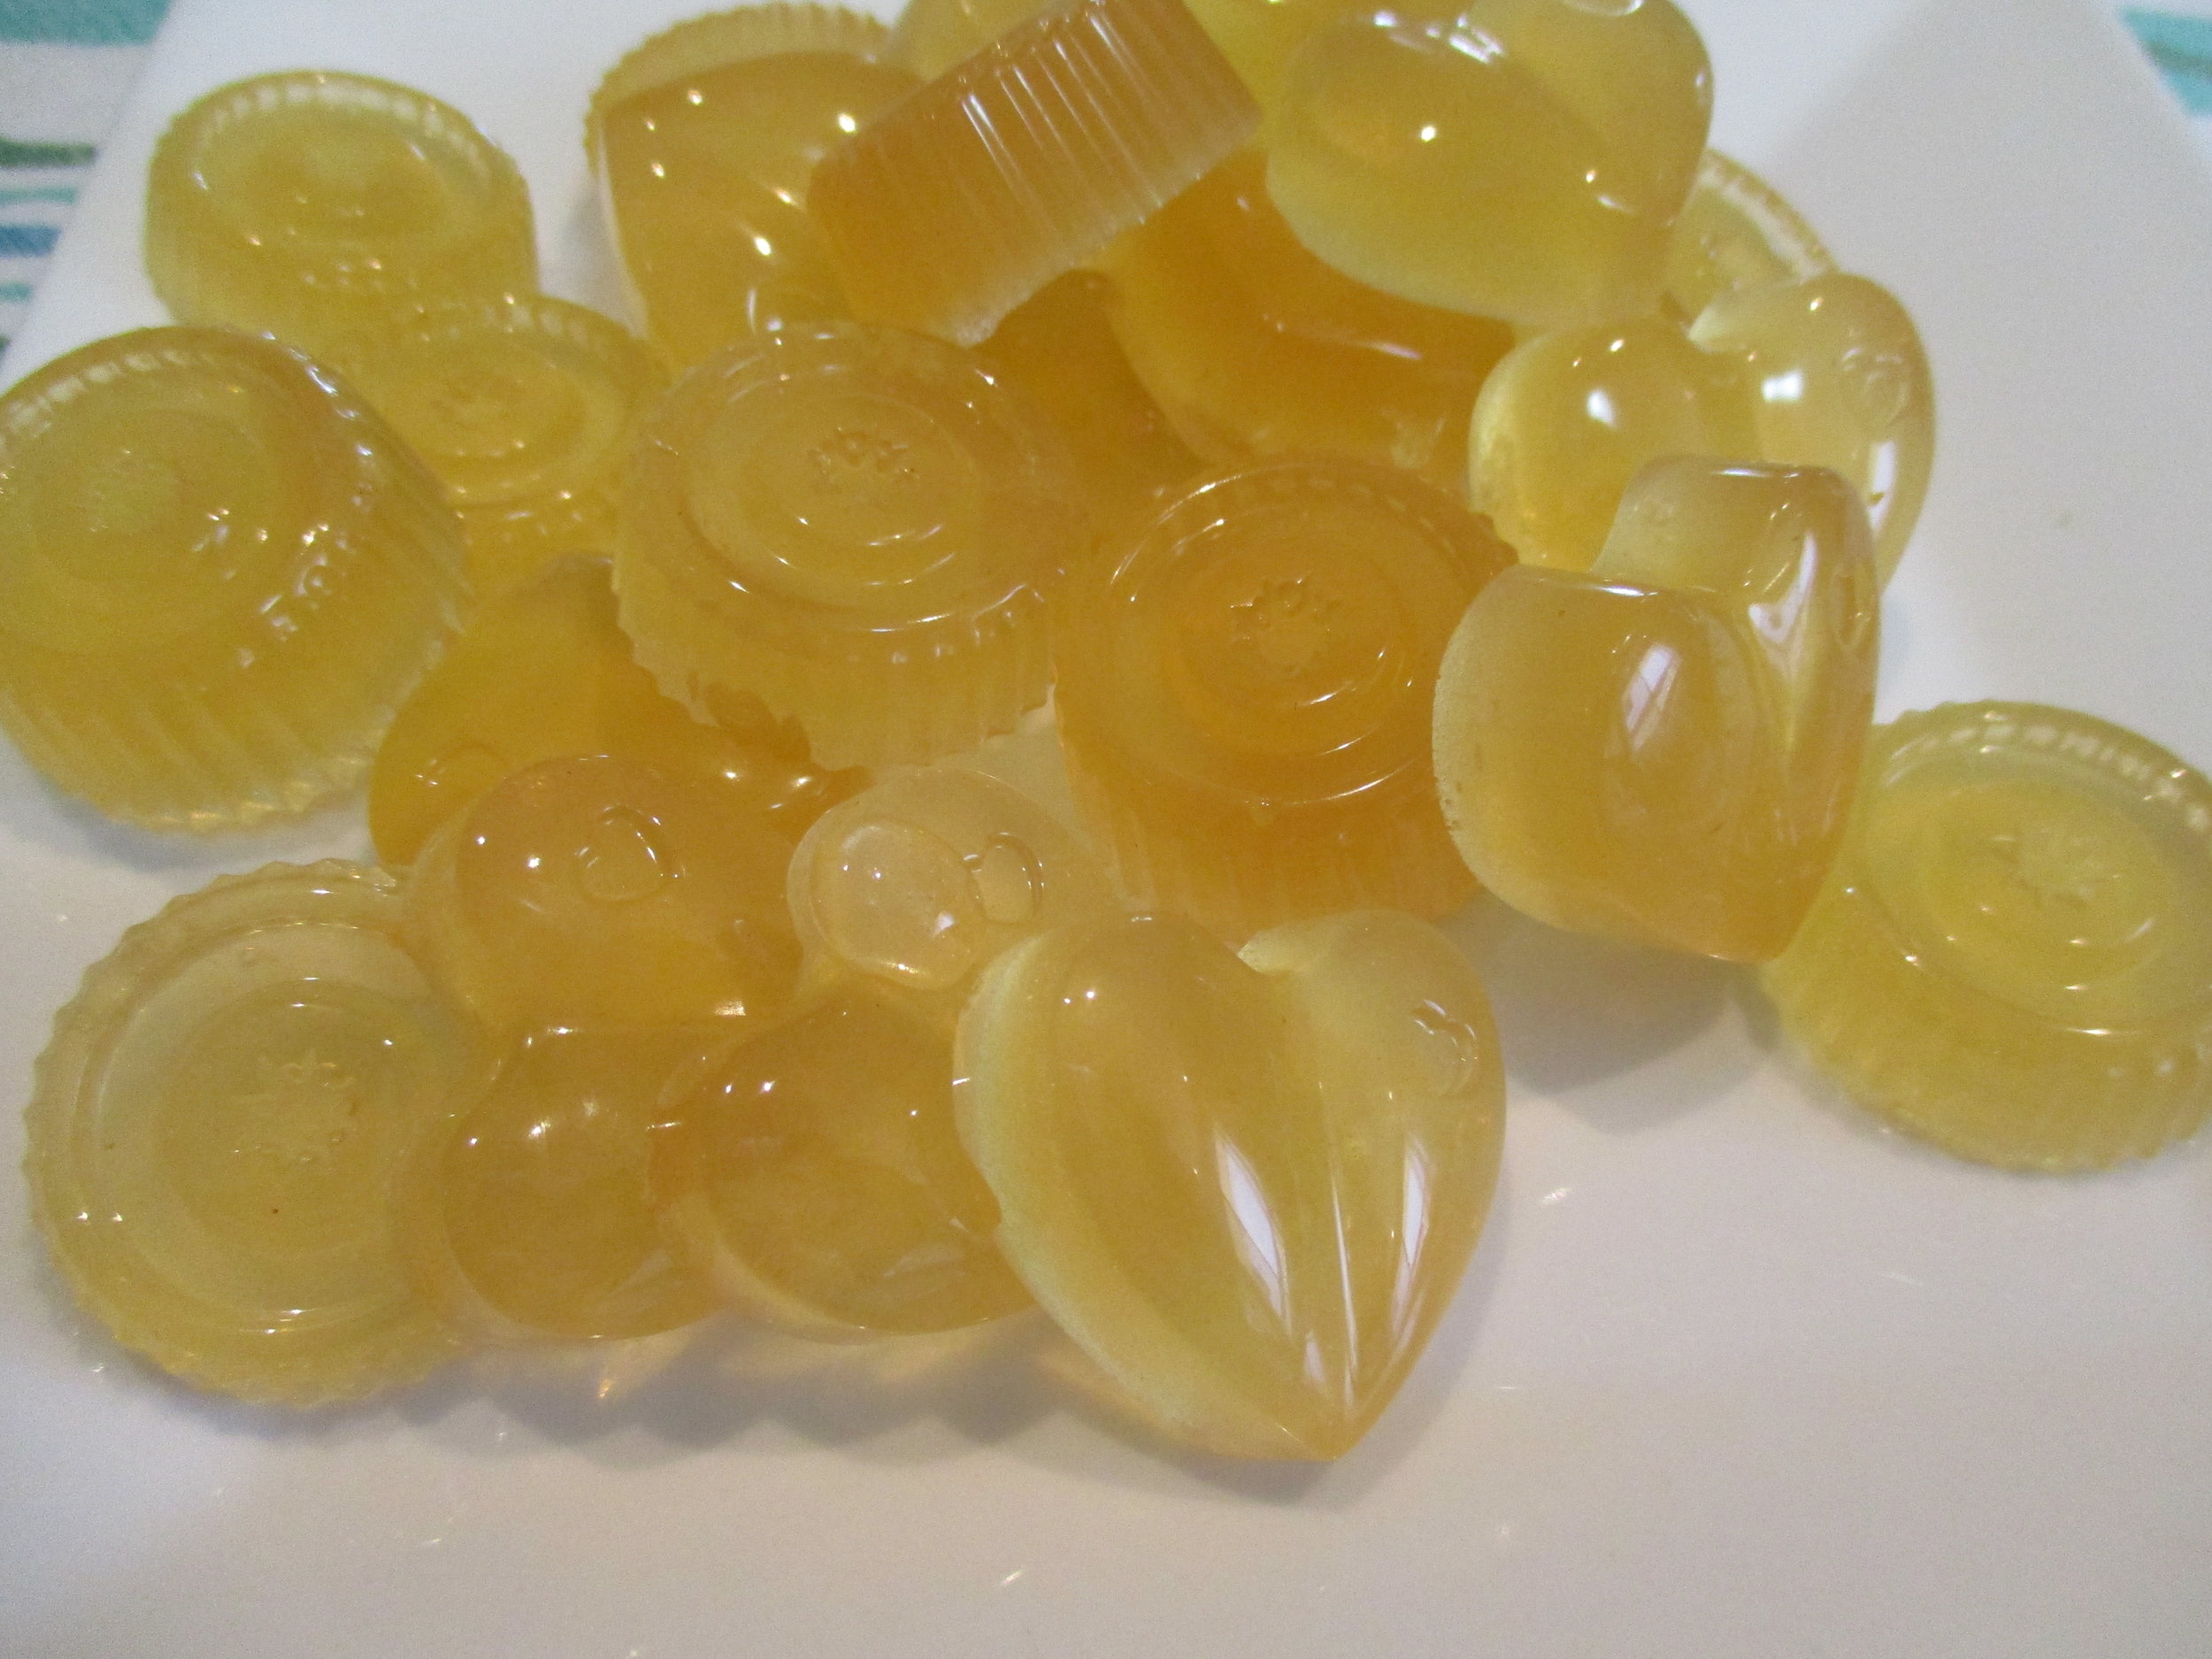
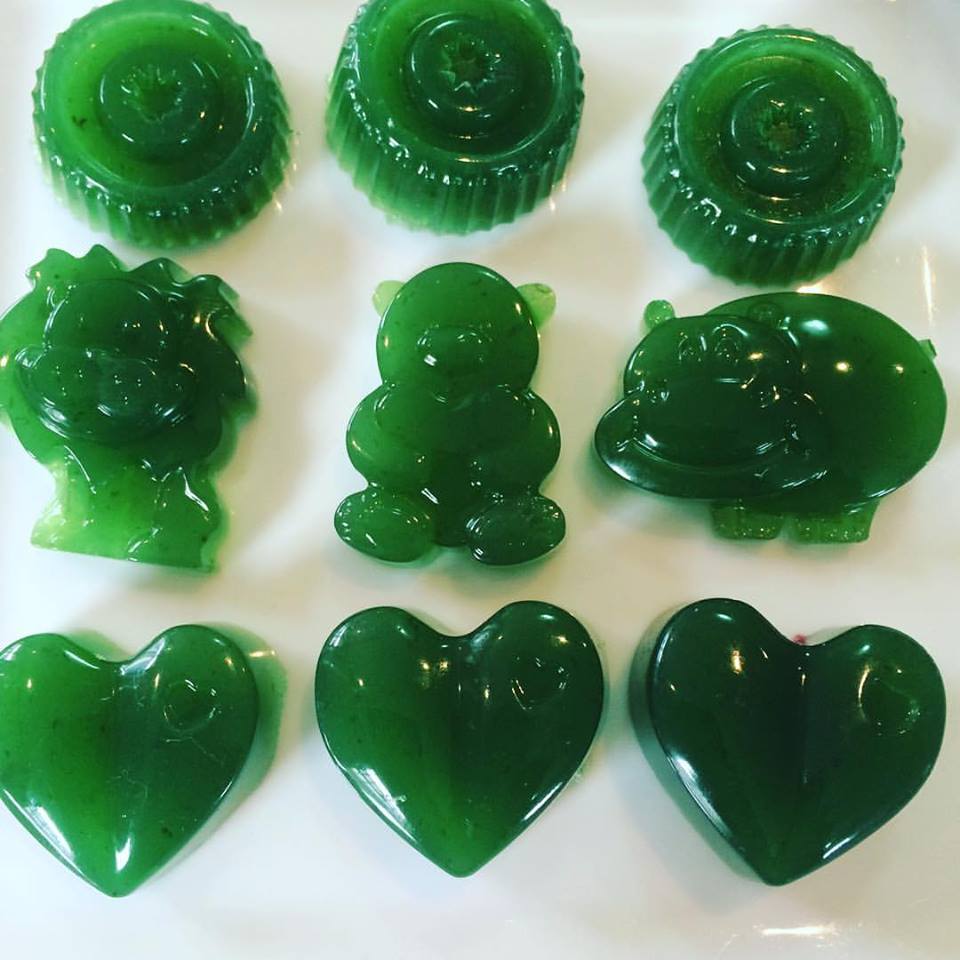
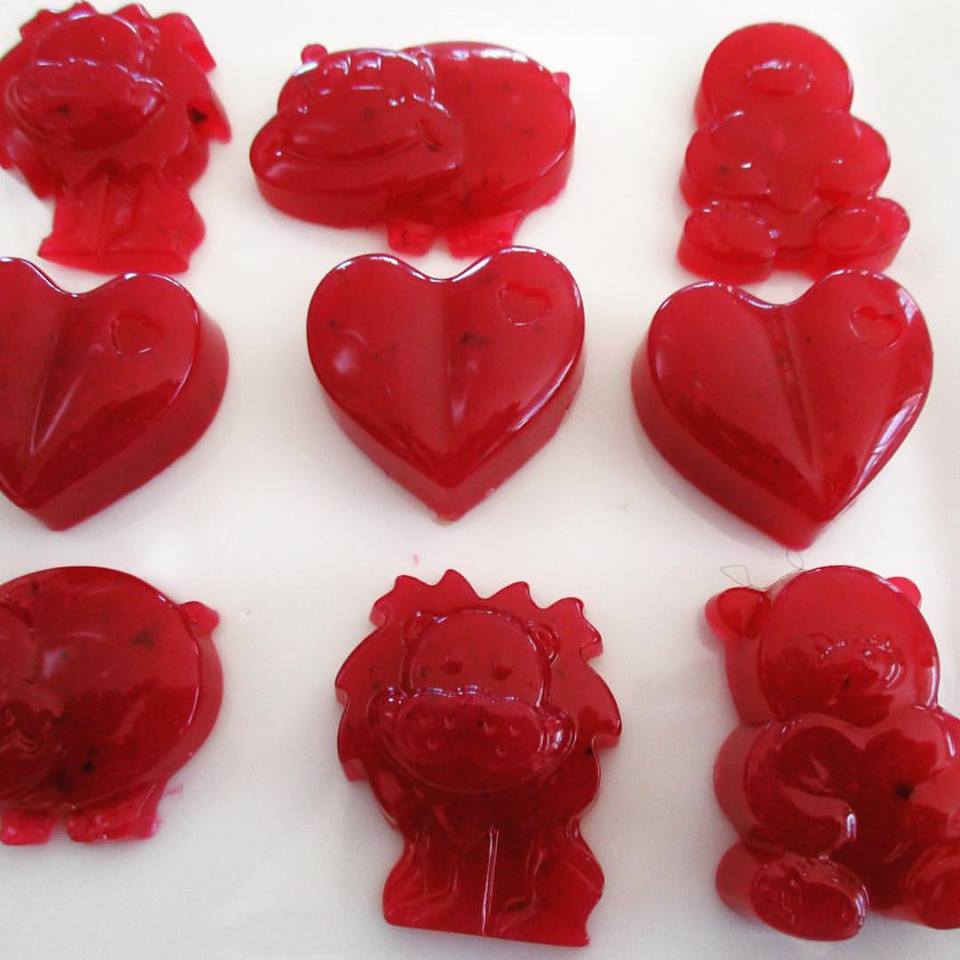
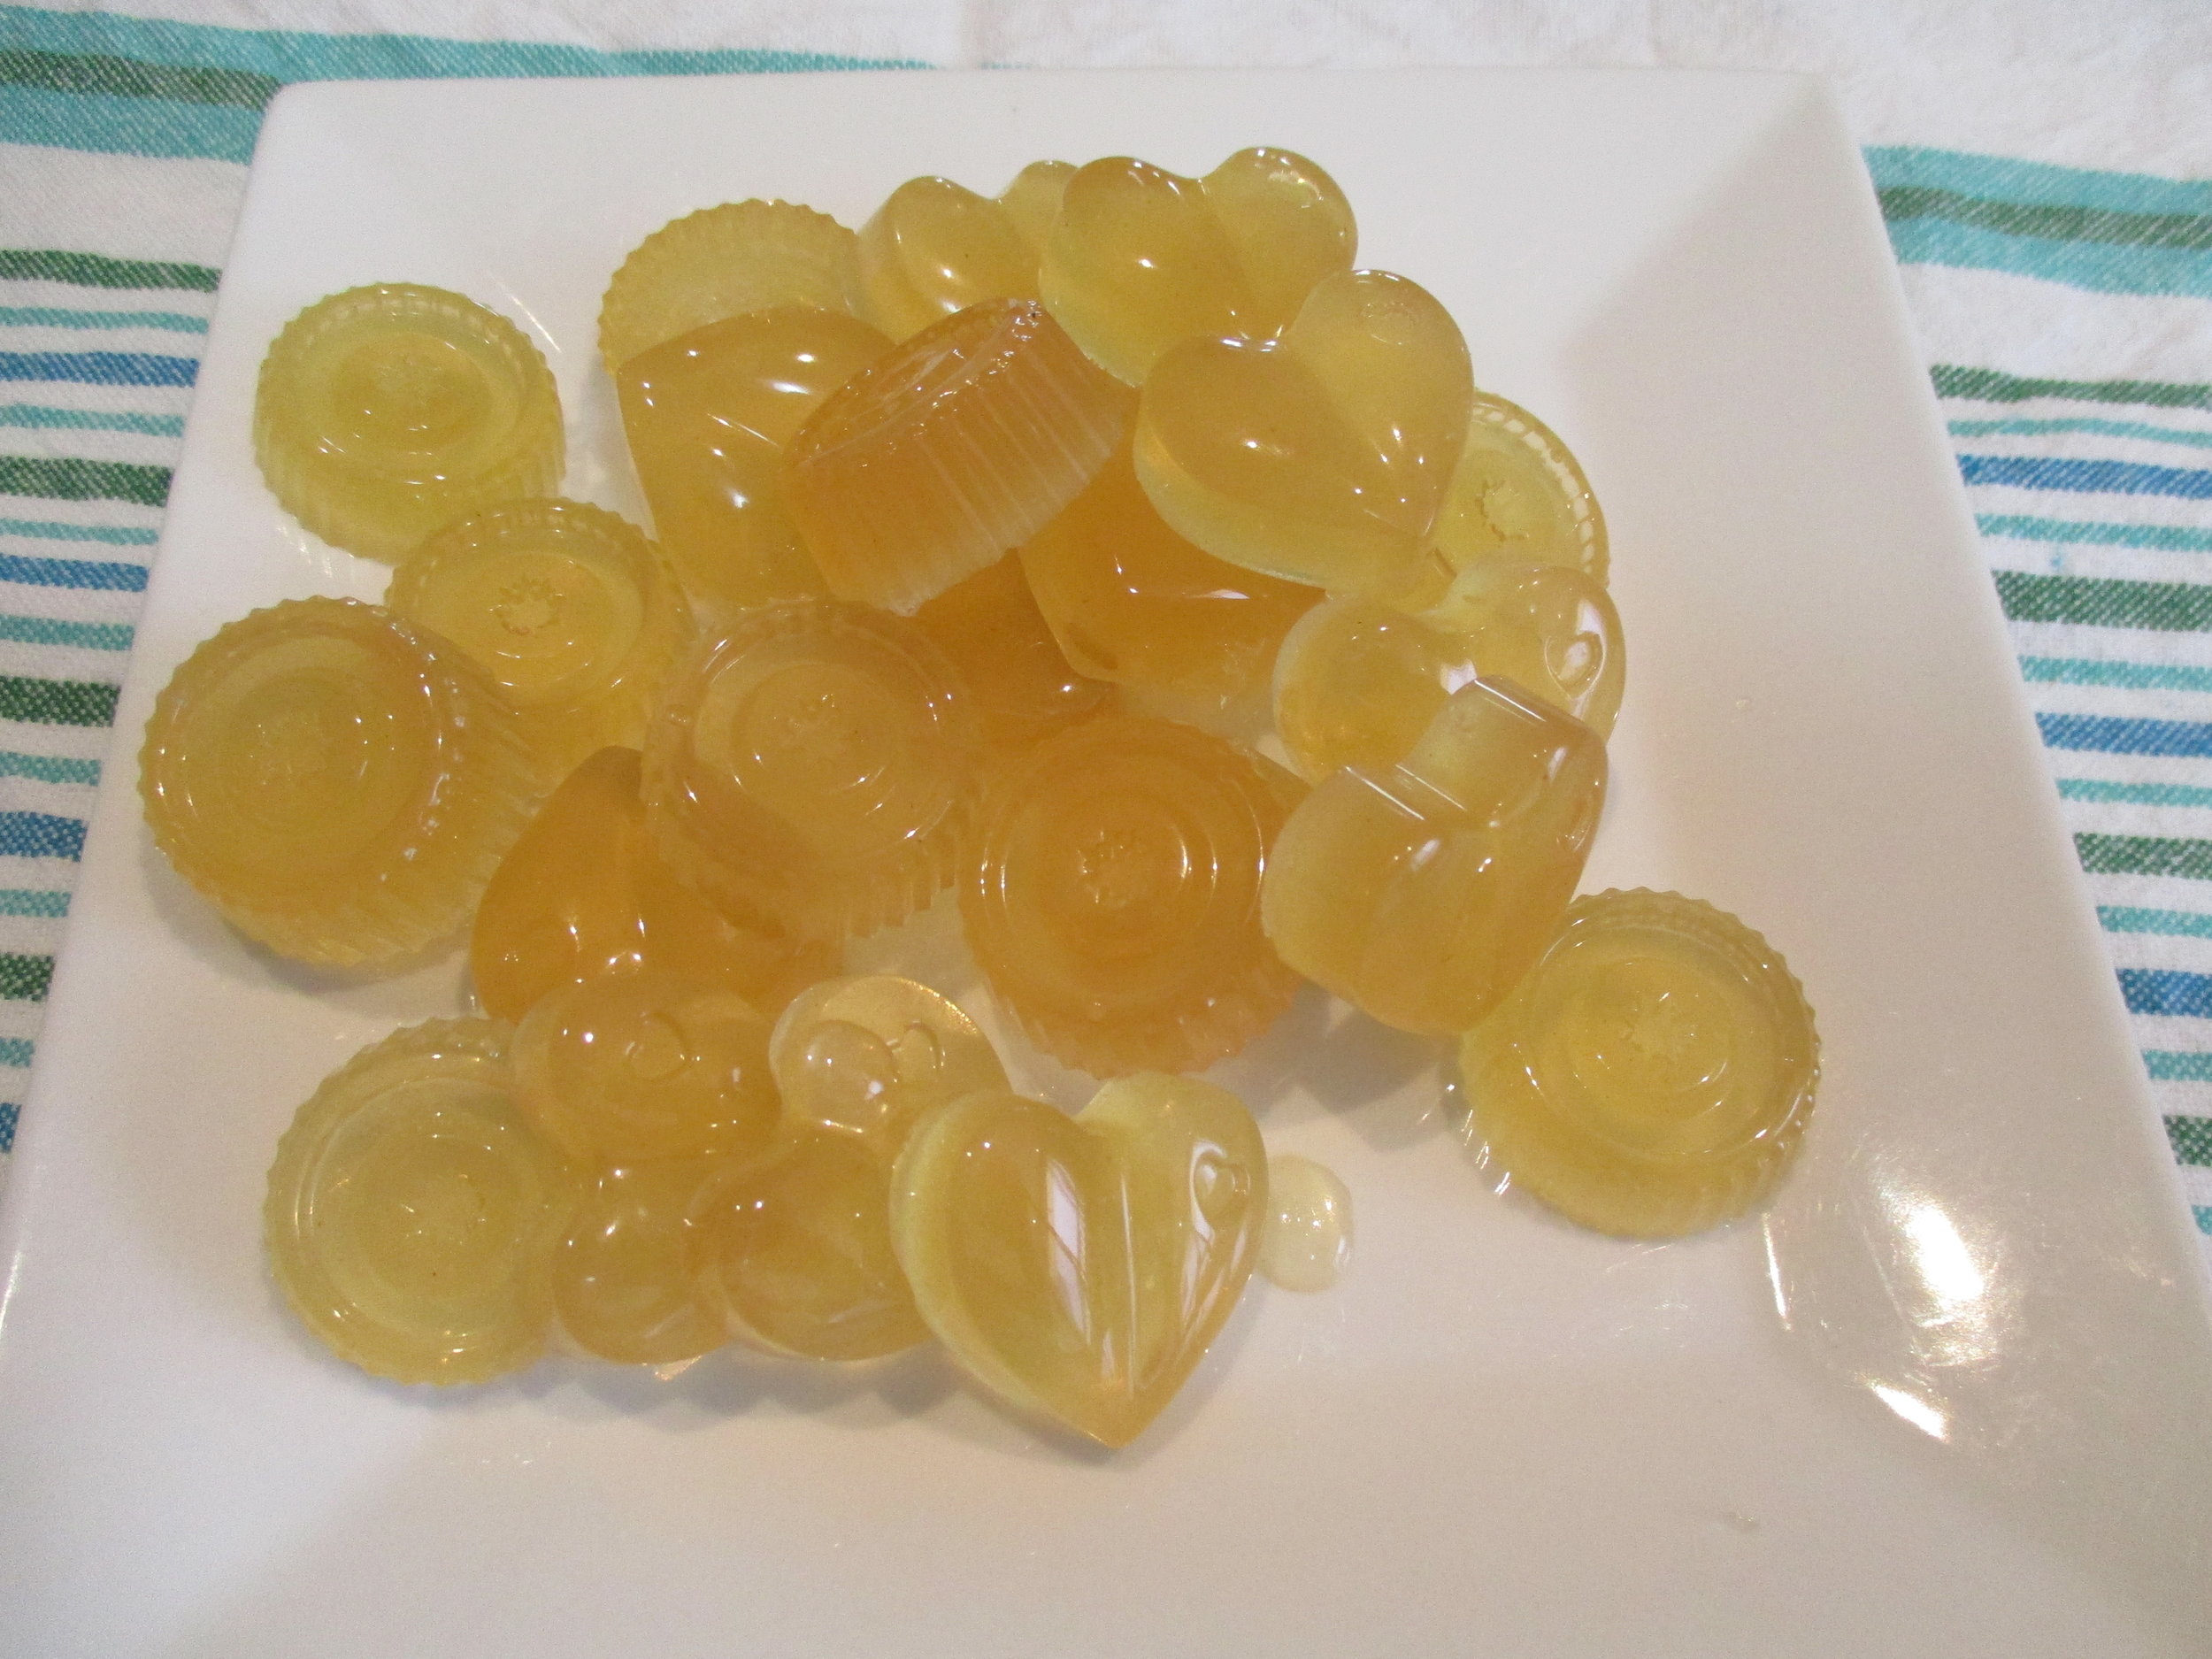
Easy Peasy Gut Healing Gummies
Gummies are a great way of getting some healing collagen into our children's bodies and know that it is helping rather than driving dis-ease.
You could also add collagen gelatine to recipes such as:
· Panacotta
· Jellies
· Pudding
· Marshmallows
· Cheesecakes
· And the list goes on, basically anything that needs a bit of firming
There are quite a few brands of collagen gelatine on the market now, so please ensure they are from a pastured source. Brands I've used before and happy with are Great Lakes that can be sourced from Iherb and Gelpro.
I used to use 1 cup of liquid and found that it just made too many gummies. My kids would then be sick of the flavour half way through, which meant half of them wasted! Apparently they can be frozen, can't say I've tried that myself, but feel free to give it a go. So I’ve halved the amount and this yields just enough for them to have over the course of a week.
EASY PEASY Gut healing probiotic gummies:
Ingredients:
½ cup of the best juice you can find. Also ensure it is cold pressed and organic if possible.
¼ cup of fresh lemon juice (optional)
4-6 tablespoons of grass-fed gelatine. My kids tend to like it on the firmer side, so I use 5 tablespoons. Best to experiment and see what texture your little ones like
1 tablespoon raw honey, this is enough for us, increase if you feel the need
2-3 probiotic capsules
Method:
Add the juice to a saucepan
Sprinkle the gelatine slowly into the juice until it starts to soak up the liquid
Heat gently on the stove and stiruntil the gelatine dissolves and then remove from the heat
Once the liquid mixture has cooled down slightly, add the honey and probiotic capsules and be sure to mix thoroughly. You don’t want the liquid too warm otherwise it will destroy the amazing properties of the raw honey and kill the beautiful bacteria in the probiotics
Pour into molds of your choice
Place in the fridge to set for 20min – 1hr
Once set, store in an airtight container in the fridge for up to 7 days
Too easy xx